
Of all the different feet that can be attached to sewing machines, I think the button hole foot may be one of the most intimidating. Its usually fairly big and bulky, and may not instinctively make sense as to what you are supposed to do with it. But its also really handy, and can speed up adding button holes a treat. Read on to find out more.
But before you do! If you love to sew, check out my Creative Sewing Challenge. Hundreds of sewing enthusiasts are signing up to be part of this monthly challenge. We sew to a new theme each month, and I keep everyone updated with tutorials and ideas to help keep us all inspired. Its free, fun and open to anyone. Sign up below or find out more here.
The form you have selected does not exist.
Whilst not all button hole feet may look and work exactly the same way as mine, the step by step instructions below should help you navigate your way with your own machine to neat and tidy button holes. Be brave and have a go (although I recommend using scrap fabric for the first few, just until you find your groove).
Here’s what an average button hole foot looks like:

Place your button in the foot – there should be an adjustable space that will allow you to pop any button inside and slide together so it is held snuggly in place by the foot.
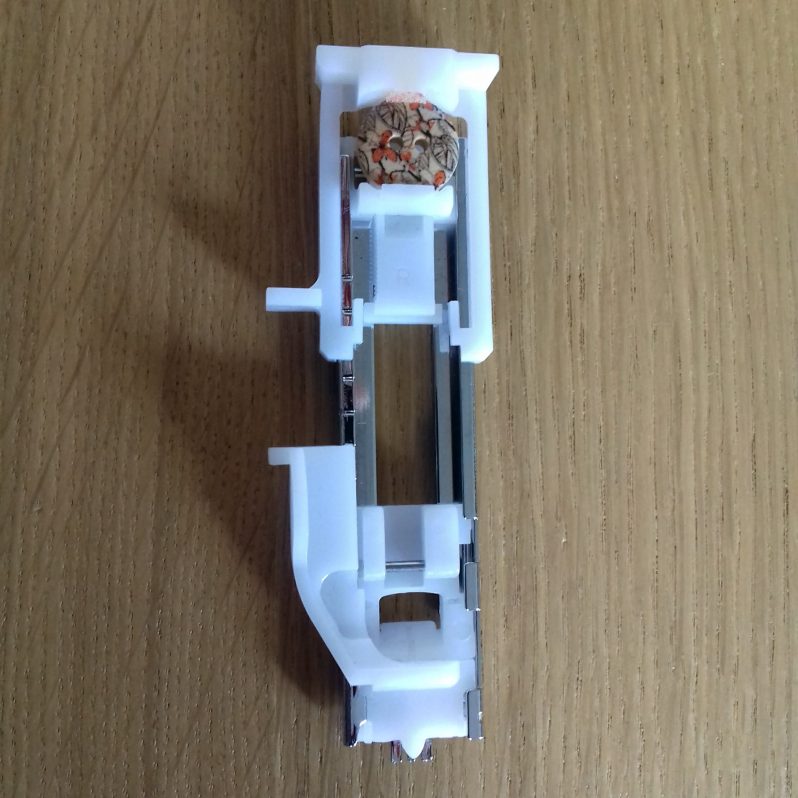
Once your button is in place, you’ll notice the side of your foot opens up. The distance created will be the size of the finished button hole. If you don’t already have markings for each button hole, use these to mark the starting point for your hole with a tailor’s tack or air-fading pen. Remember, your fabric moves away from you as it works through the machine, so your starting point needs to be closest to you when you begin to sew.

Replace your existing foot with the button hole foot.

There should now be a small lever somewhere on your machine that you can pull down to sit alongside the button hole foot. This will act as a prompt for the machine to stop working in one direction and change to another.

Set your machine to a button hole stitch – remember, some machines have more than one.
Lower your needle into the fabric, and start sewing! Most sewing machines will now automatically sew the button hole without any further action from you, other than keeping your foot on the pedal.
As you can see, the finished button hole stitching will correspond nicely with the gap created at the side of your foot.

When the sewing is complete, remove your fabric and trim and thread ends. Place a pin at one end of the button hole, in front of the stitches (this is to prevent you cutting them by accident).

Use a seam ripper to cut your fabric and make the actual hole for your button to fit through.

Carefully trim away any frays or stray threads, and you will have a lovely, neat button hole.

I hope you have found that helpful, its always good to get another foot under your belt as you get to grips with the intricacies of a sewing machine. Don’t forget, if you love to sew you are very welcome to sign up to my Creative Sewing Challenge; I’d love to have you as part of our community!
And here’s a handy pin for later…


