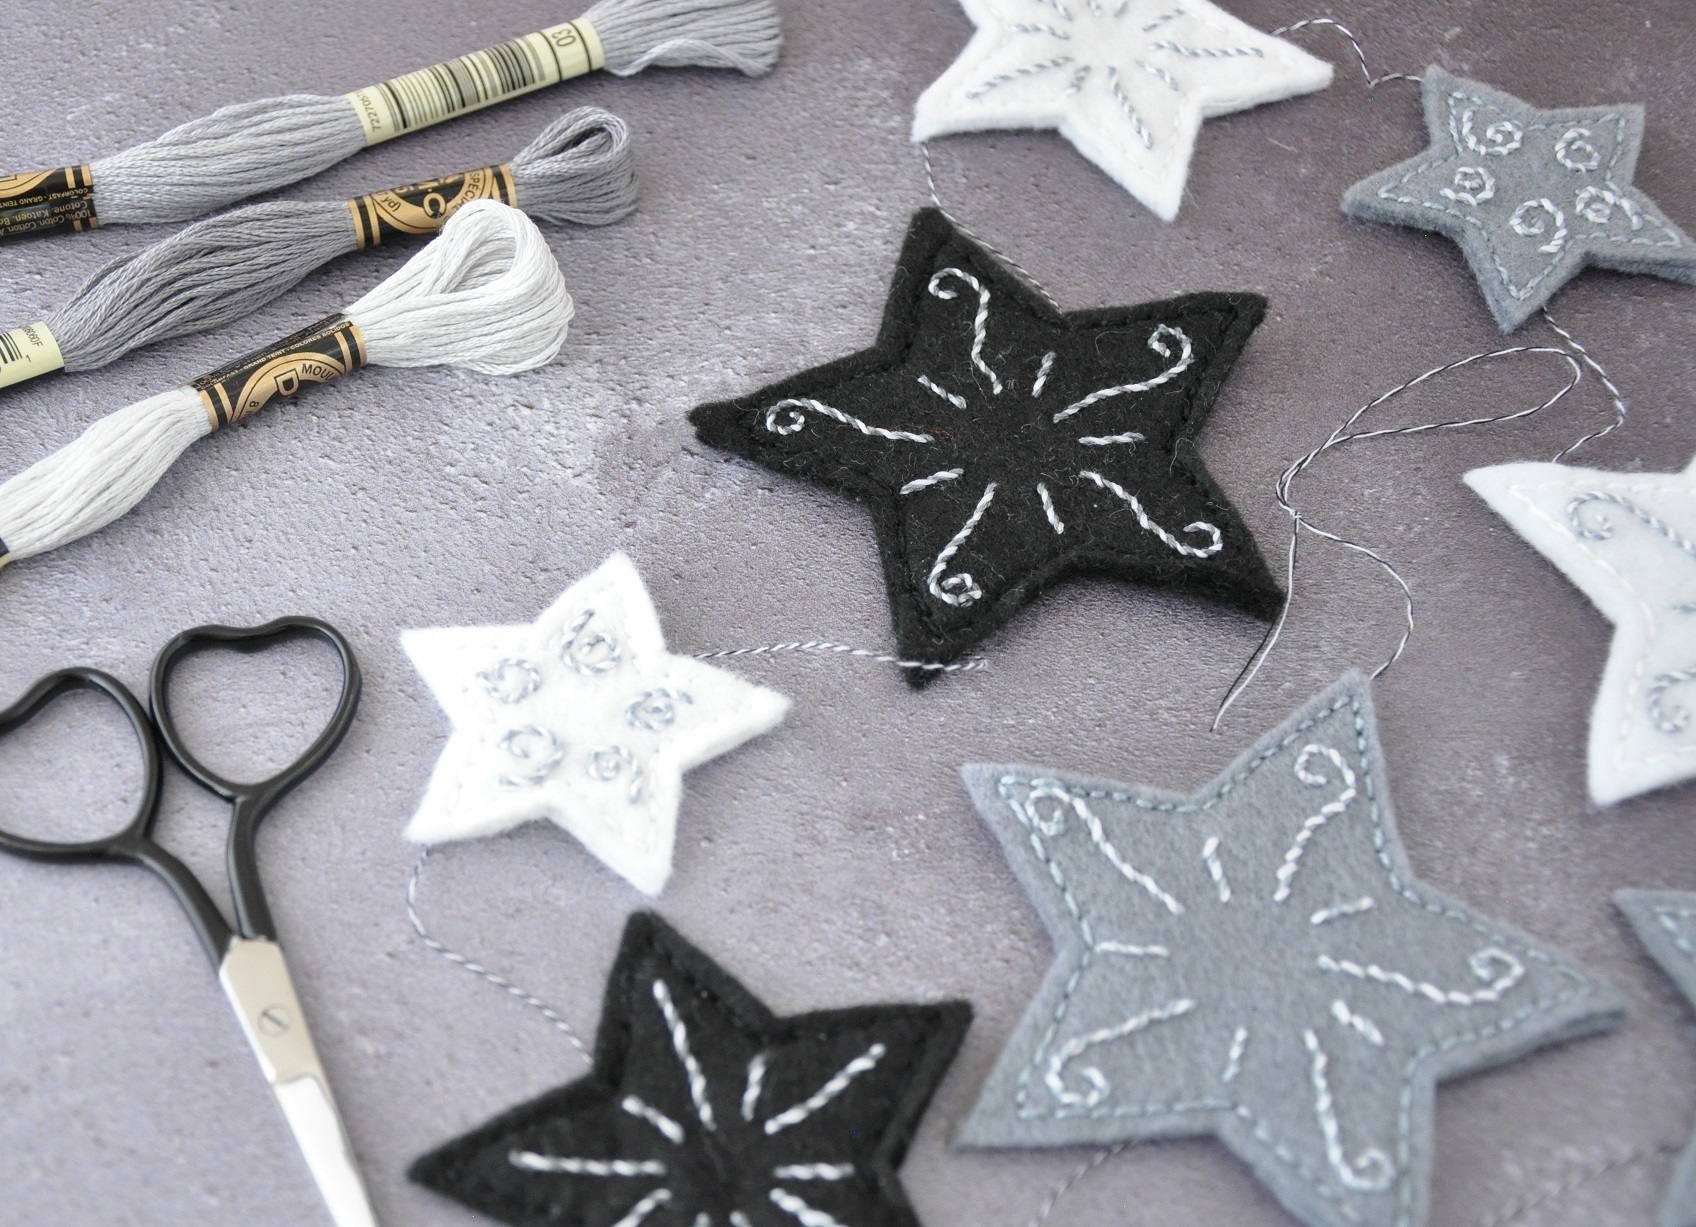
The theme for my Creative Sewing Challenge this month was ‘Up there amongst the stars’. So I came up with this felt heart garland to share with members of the Creative Sewing Challenge Community. Its made from embroidered felt; you can choose whatever colours and stitches you fancy so it can tie in with any colour scheme in your home, or possibly be part of your Christmas decor. Read on for step by step instructions, download the free pattern below, and enjoy some lovely, relaxing hand sewing!

You will need:
- Different coloured felt
- Embroidery floss in matching or contrasting colours (depending on your personal preference!)
- Embroidery needle and all purpose needle
- Trace and tear paper
- Pencil
- Pins
- Tacking thread
- Sewing machine and two thread colours
Use your template to cut out the star shapes in felt. Its up to you how many of each size star you would like in your garland, but remember you will need to cut two pieces for every star shape. I opted to make a garland with 3 of each size (each in a different colour).

Now use your trace and tear paper to trace off the patterns. This time you will only need one per star.

Pin and tack the paper to each shape. These are the front pieces of your star.

Use three strands of embroidery floss to embroider each pattern. Its your choice as to whether you use matching or contrasting thread, and also what stitch you use. I opted for a small back stitch. Sew right through your trace and tear.

Remove your trace and tear to reveal the pattern.

I chose to go back and ‘whip’ my back stitch, just to add a bit of extra interest.

Next you will be focusing on the back pieces of your star, sewing them together to make the garland. I found it helpful to lie my stars out in the order I wanted for my garland.

Thread up your sewing machine with a different colour for the top thread and the bobbin – just to add to the decorative finish of your garland. Begin by sewing nothing for a few stitches, until you have a length of thread approximately 10cm – 20cm long. Your thread should look all twisted.
Now place your first star in the sewing machine.

Sew from top to bottom of the shape.

Then keep going and sew nothing for 4cm – 5cm so you have a gap.

Place your next star in the sewing machine and repeat. Sew from top to bottom…

…and keep sewing to create a gap. Its up to you if you want to measure each gap to keep them even, or if you want to vary the size of the gaps for interest.

Keep going until all your stars have been sewn together, and finish by sewing nothing for a further 10cm – 20cm.

Tie a loop in each end of your garland ready for hanging.

Now turn each of your shapes over so they are facing the same direction. I made sure each of my stars had the black bobbin thread showing.

Then place the corresponding front piece on each star and pin in place.

Keep going until all your embroidered front pieces are pinned to their backs (you might want to use a few pins for the bigger shapes).

Use three strands of embroidery floss to sew your pieces together around the edges. Again, use whatever stitch and colour of floss you fancy – I went for back stitch again in matching thread.

And with that your beautiful star garland is complete! Hang it up for a bit of sparkle in your home, or keep it as a festive decoration to bring out at this snuggly time of year.

If you enjoyed this tutorial, you might also enjoy being part of my Creative Sewing Challenge. Sign up below to receive creative prompts each month, and use these to inspire your sewing. I send ideas and tutorials tied to each theme out to members, and together we find new and interesting ways to develop our creativity through the joy of sewing. All sewing types and abilities welcome. Find out more here, or sign up for free below:
The form you have selected does not exist.
And here is a lovely pin if you would like to share – thank you!


