Like many things I write about on my blog, trying to tackle a curved hem when I first started dressmaking left me feeling frustrated and defeated. The hem would always pucker, and I’d never be able to avoid tucks and kinks no matter how hard I tried to keep it neat. But I have since figured out where I was going wrong. So when my sister found a lovely A-line skirt that fitted in every possible way, apart from being too long, I didn’t hesitate to offer to turn it up. Here’s what I did.
There are a number of ways to deal with a curved hem, but given that my sister’s skirt was made from a medium-weight fabric, I opted for the gathered method. This means, instead of the usual hemming approach of folding and pressing, an extra step is required whereby the fabric in the hem is slightly gathered to take account of the extra fullness this type of hem presents.
Here are the steps broken down.
First, measure the length you require your finished garment to be, plus 4cm for the hem. My sister needed her skirt shortening to a length of 60cm, so I needed to measure 64cm down from the waist. Turns out it was actually easier to measure up from the existing hem instead as the belt on her skirt made it hard to measure as accurately. In this particular case, that meant measuring up by 6cm.
Mark your required distance all the way around using tailor’s chalk, and join together to make a continuous line.

Cut along your line and neaten the raw edge using your preferred method, for example using an overlocker or a zig-zag stitch. As the fabric of this skirt was a kind of felted-elastic hybrid, it didn’t fray at all. so I opted to keep it simple and used my pinking shears to neaten it all up.

Now measure 4cm from the edge of your skirt and press your hem under all round. You can use a seam gauge for this, or a method I quite like is simply to cut a piece of card to your required hem amount. The card can be tucked under your fabric as you press, making it really simple to keep the fold even all the way around. As this was a curved hem, I needed my card to be fairly small in width.


If you tried to sew your hem at this stage, you can see how you’d just create lots of tucks and puckers all the way around the hemline – not a professional finish!

So, you instead need to unfold the fabric you have just pressed and sew a basting stitch 1cm from the edge. Do this is two stages, sewing from side seam to side seam, and leave long threads at the start and finish.
Now, re-fold your hem along your pressed line and gather the basting stitch slightly as you pin the hem in place. You may need to wiggle and jiggle a bit as you go along, but basically you are using your basting stitches to enable you to gather up the excess fabric so that a flat hem can be created. Keep gathering and smoothing down until you are happy its all lying flat.

Now you can sew your hem in place using either hand or machine stitching. As this skirt had a machined hem in the first place, I decided not to go all couture on this one and used my machine to speed things up a bit. Just don’t forget to re-adjust your stitch length and tension following the basting you’ve just done.
Give your hem a final press, and there you have it; a beautifully hemmed skirt with a really professional finish.

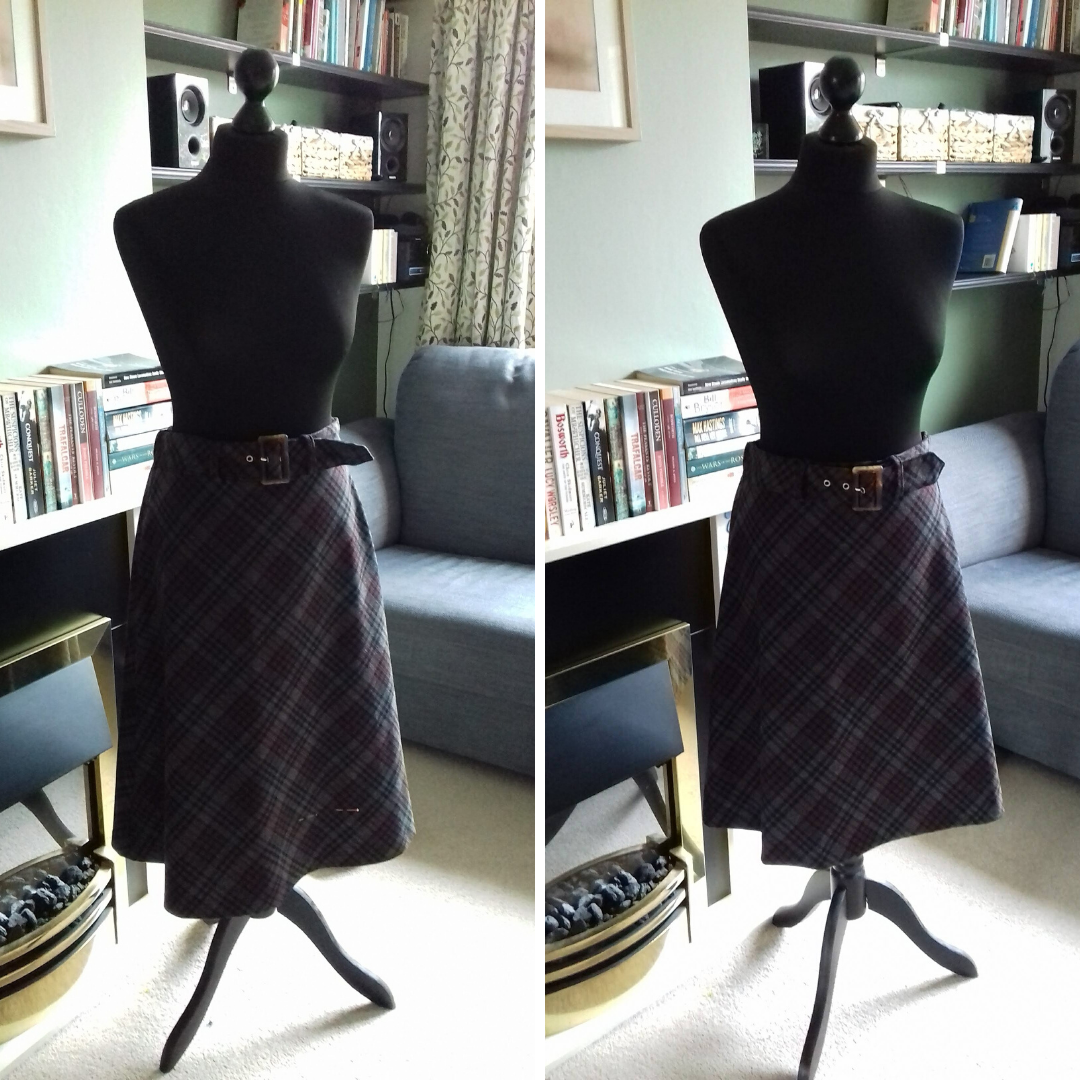
Teamed up with a pair boots, my sister is looking lovely.
If you love to sew, why not try signing up for my Creative Sewing Challenge? Its a free way to stay inspired with your sewing; receive monthly prompts, ideas and tutorials tied to a different theme, and join a growing community of sewing enthusiasts. Open to all sewing types and abilities, everyone is welcome. Find out more here or sign up below:
The form you have selected does not exist.
And feel free to save my pin – thank you!


