Top stitching is a type of stitch that can be both decorative and functional. There are a few simple steps you can take to make sure your top stitching looks great, giving your sewing projects that professional finish.
Use a sewing machine needle suitable for top stitching
Depending on the project you are top-stitching, it’s likely that you may need a different sewing machine needle to help you get the job done well. For instance, a very standard place to find that distinctive top-stitched finish is a pair of jeans, so using a denim needle is a good idea here as they are designed to reduce tension when penetrating thick layers (meaning they are less likely to break). If you are using a metallic thread for a decorative finish, there are needles designed especially for that (they have a larger eye to deal with the thickness of the thread). And you can buy an actual ‘top-stitch’ needle, which tends to have both a larger eye and is slightly stronger, helping it to cope with the many layers it may need to work its way through. You can find out more about sewing machine needles in my post here.
Use thread suitable for top-stitching
As with needles, it may be worth giving consideration to the type of thread you are using. Generally speaking, if you want your stitches to stand out, consider contrasting colours and a heavier weight (although also take into account the above point as to what needle is likely to be best suited to thicker thread). You may also want to consider the fibre content most suited to the fabric you have been using.
Alter your stitch length
A slightly longer stitch length generally makes for a more appealing finish (and personally I find gives a neater look, but maybe that’s just me!)
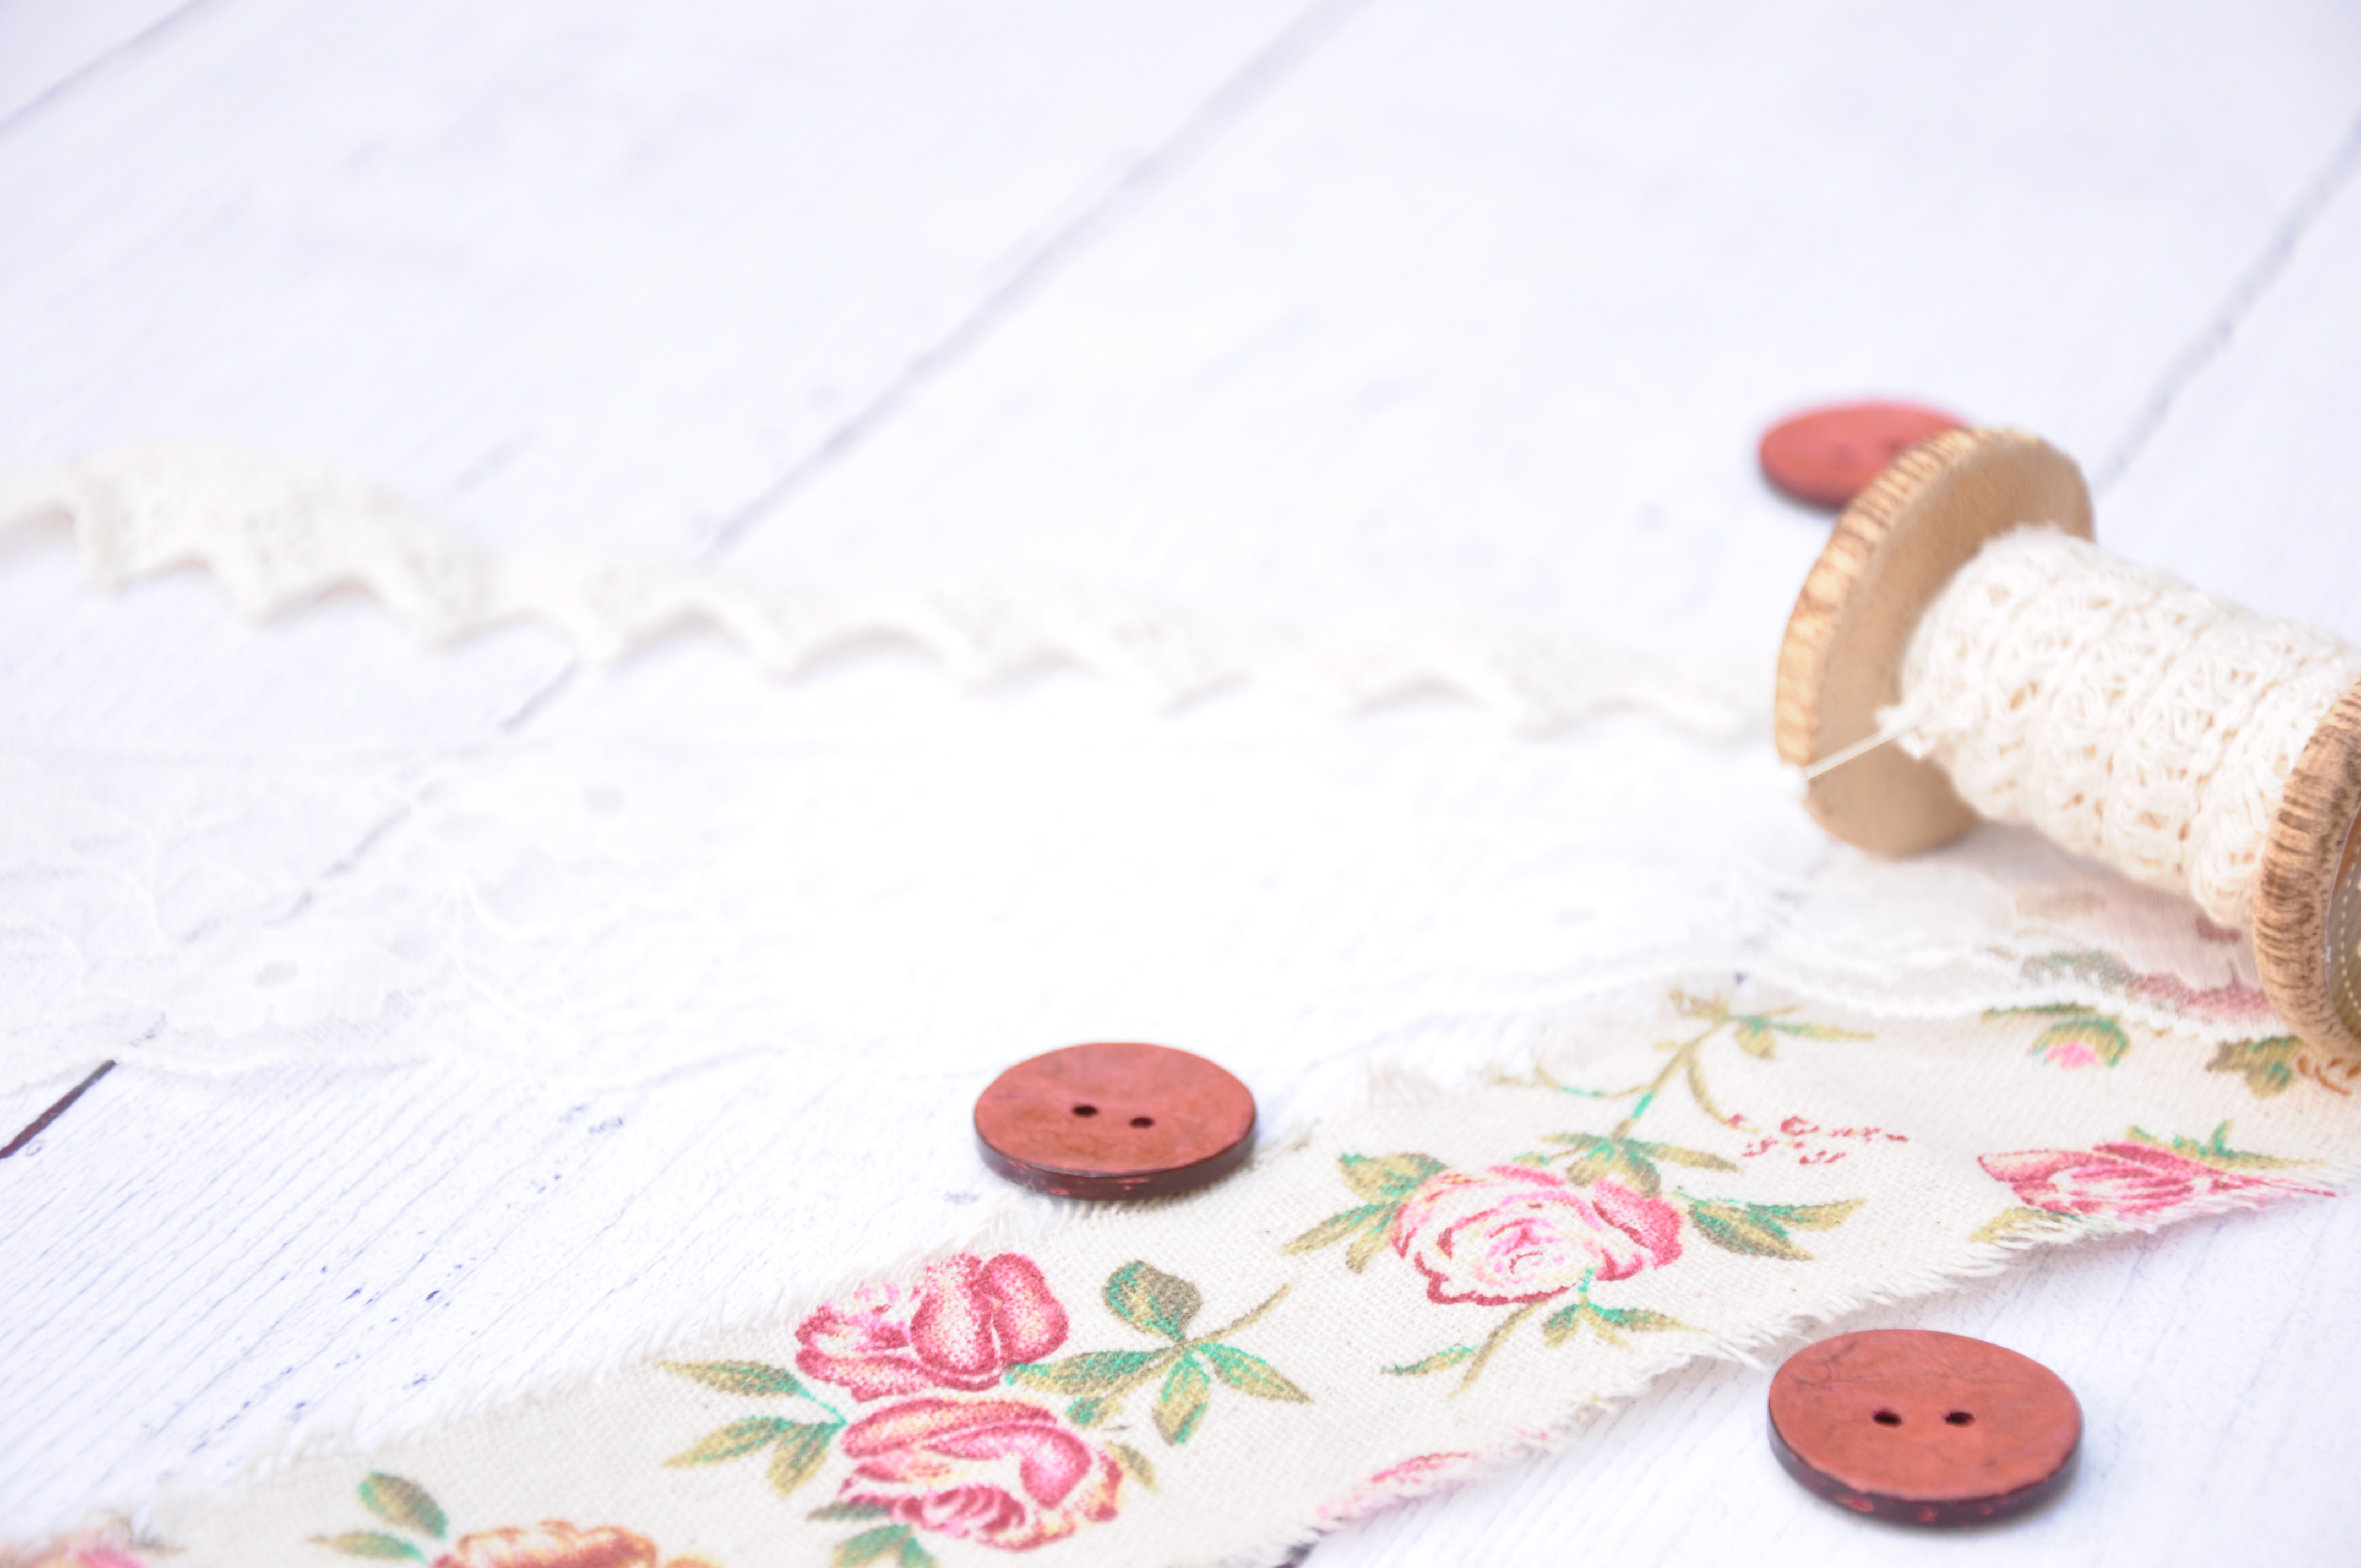
(If you’re here because, like me, you love to sew, why not check out my Creative Sewing Challenge? Its free to take part, and you’ll be joining a growing community of sewers gaining monthly inspiration for their sewing projects. Sign up below or find out more here).
The form you have selected does not exist.
Stay consistent
Have in mind where your top stitches are going before you start. If you are using them as an edge stitch, be really clear what distance the stitches will be from the edge of the fabric before you start, and have a marker you can follow so they stay consistent. You lose that professional look the minute your line of stitches starts wandering off its original path even slightly.
Press before and after
Any line of stitches can have a slightly wavey look to them just after sewing, so pressing is always a good idea to help smooth them down and give a nice even finish. This is especially the case when top stitching, as this is often used to give a decorative finish. Make sure you press the surface you are sewing onto before you start so that it is free of any creases, and afterwards so your stitches lie nice and flat.
Finish without fuss
Its best to avoid starting and finishing your work with a few back-stitches. Whilst this is usually good practice to secure your ends, with top stitching, all is usually visible so you don’t want your line of stitches to be slightly thicker at the start and the finish. Instead, start and finish each line with the auto-lock button if your machine has one, and pull threads through to the back before cutting.
And remember, its always worth a quick practice run before you start on a scrap piece of your chosen fabric. A slight change in one of the above factors can make all the difference in the finish you get, but the best way to suss that out is to try before you commit to the finished piece.
Thanks for taking the time to read this post. If you found it useful, please do share to your followers on Pinterest (handy pin below!)


